UniConnect Documentation
Welcome to the comprehensive documentation for UniConnect - a modern web application featuring real-time chat, camera functionality, and seamless user interactions.
Home Page - Main Dashboard
Camera - Photo Capture Interface
Conversations - Chat Management
Live Chat - Real-time Messaging
✨ Key Features
- Modern and responsive home page design with intuitive navigation
- Integrated camera functionality for photo capture
- Real-time conversation management system
- Live chat with instant messaging capabilities
- User-friendly interface with emoji support
- Cross-platform compatibility
- Session management and user authentication
🛠 Technology Stack
HTML5
CSS3
JavaScript
JSP
Java Servlets
MediaDevices API
WebSockets
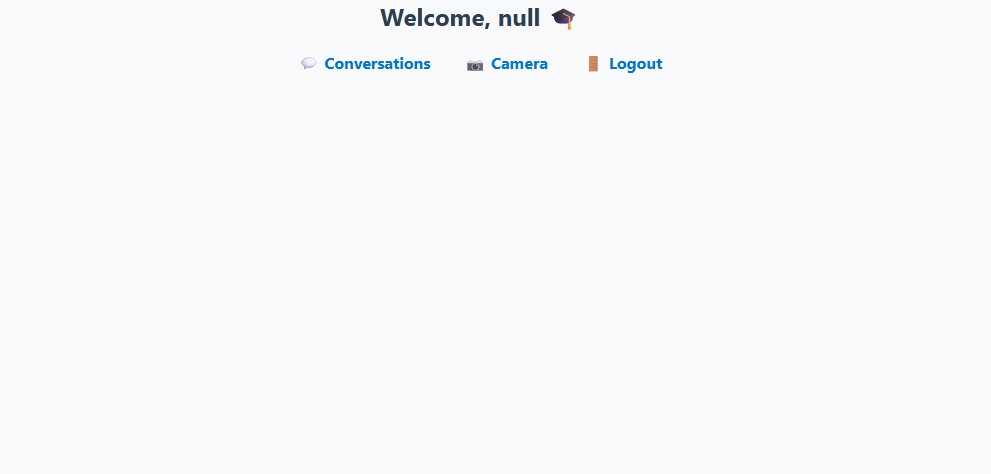
🏠 Home Page
The home page serves as the central hub of UniConnect, providing users with quick access to all major features and navigation options.
Key Components:
- Main navigation menu with feature access
- Quick action buttons for camera and chat
- User session information
- Responsive design for all devices
- Clean and modern interface
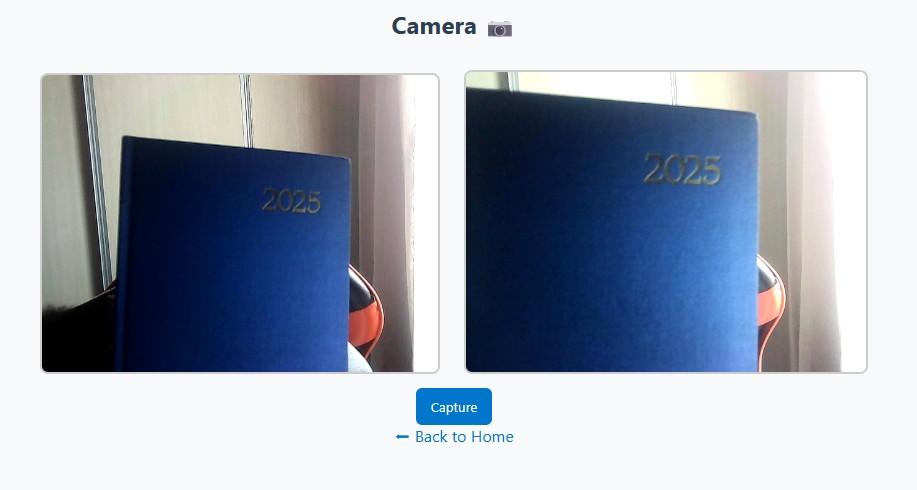
📷 Camera Functionality
The camera module allows users to capture photos directly within the application using their device's camera.
Features:
- Real-time camera preview
- Photo capture with canvas rendering
- User media permissions handling
- Responsive video element
- Back to home navigation
Implementation Code:
<%@ page contentType="text/html;charset=UTF-8" %>
<!DOCTYPE html>
<html>
<head>
<title>UniConnect - Camera</title>
<link rel="stylesheet" href="css/style.css">
</head>
<body>
<h2>Camera 📷</h2>
<video id="video" width="400" autoplay></video>
<canvas id="canvas" width="400" height="300"></canvas><br>
<button id="capture">Capture</button>
<p><a href="home">⬅ Back to Home</a></p>
<script>
const video = document.getElementById('video');
const canvas = document.getElementById('canvas');
const captureBtn = document.getElementById('capture');
navigator.mediaDevices.getUserMedia({ video: true })
.then(stream => { video.srcObject = stream; })
.catch(err => console.error("Camera error:", err));
captureBtn.addEventListener('click', () => {
const ctx = canvas.getContext('2d');
ctx.drawImage(video, 0, 0, canvas.width, canvas.height);
});
</script>
</body>
</html>
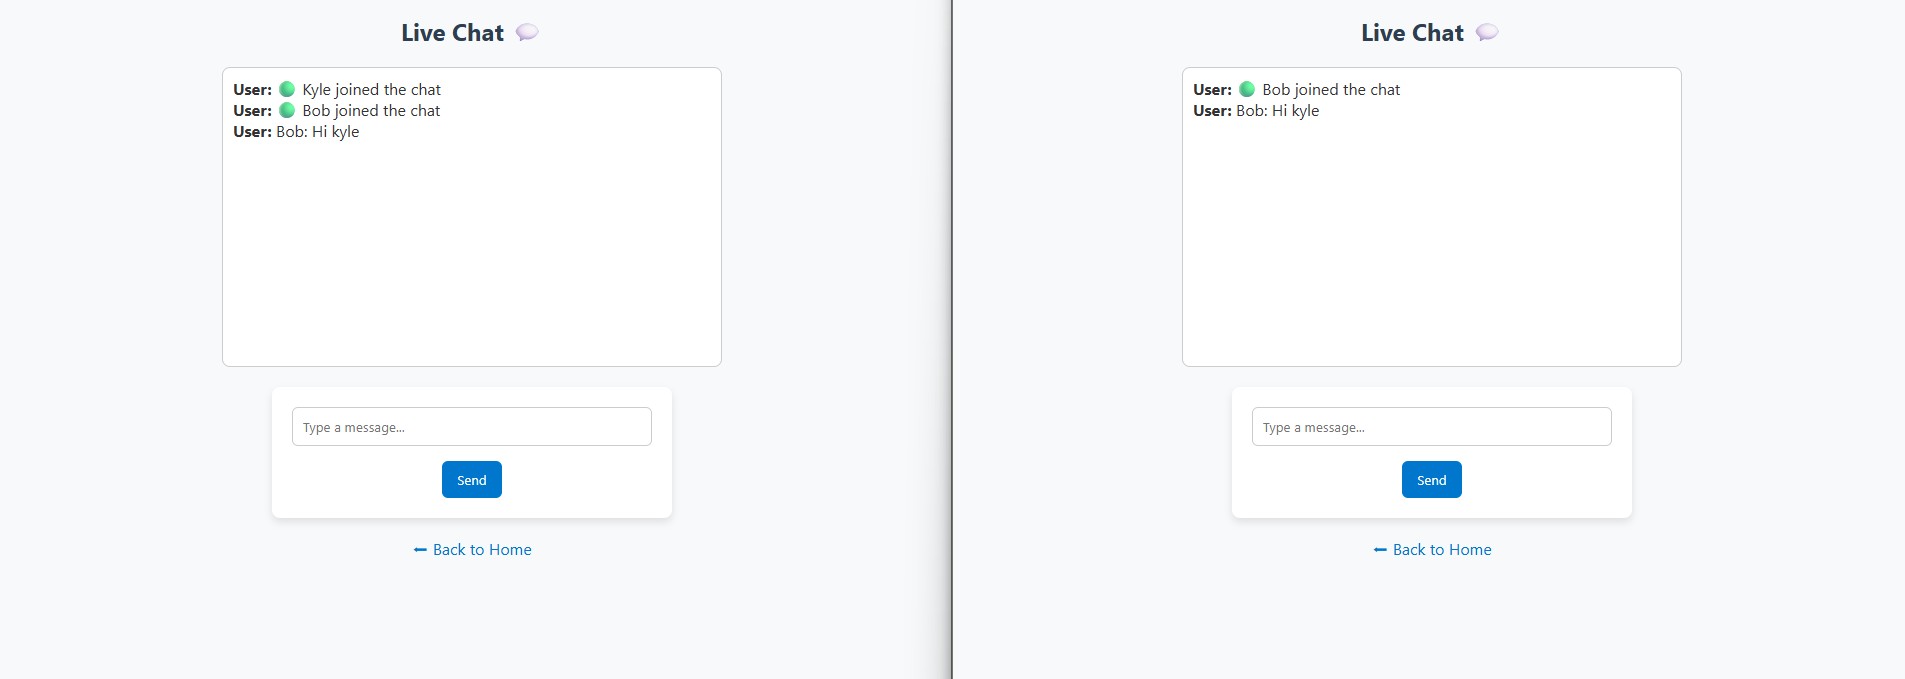
💬 Conversations
The conversations module provides a robust chat interface with real-time messaging capabilities and session management.
Features:
- Real-time message display
- Session-based user management
- Scrollable chat history
- Message input validation
- Responsive chat interface
Implementation Code:
<%@ page contentType="text/html;charset=UTF-8" %>
<%@ page session="true" %>
<!DOCTYPE html>
<html>
<head>
<title>UniConnect - Conversations</title>
<link rel="stylesheet" href="css/style.css">
<script src="js/chat.js" defer></script>
</head>
<body>
<h2>Live Chat 💬</h2>
<div id="chat-box" style="border:1px solid #ccc; height:300px; overflow-y:auto; padding:10px;"></div>
<form id="chat-form">
<input type="text" id="messageInput" placeholder="Type a message..." required>
<button type="submit">Send</button>
</form>
<p><a href="home">⬅ Back to Home</a></p>
</body>
</html>
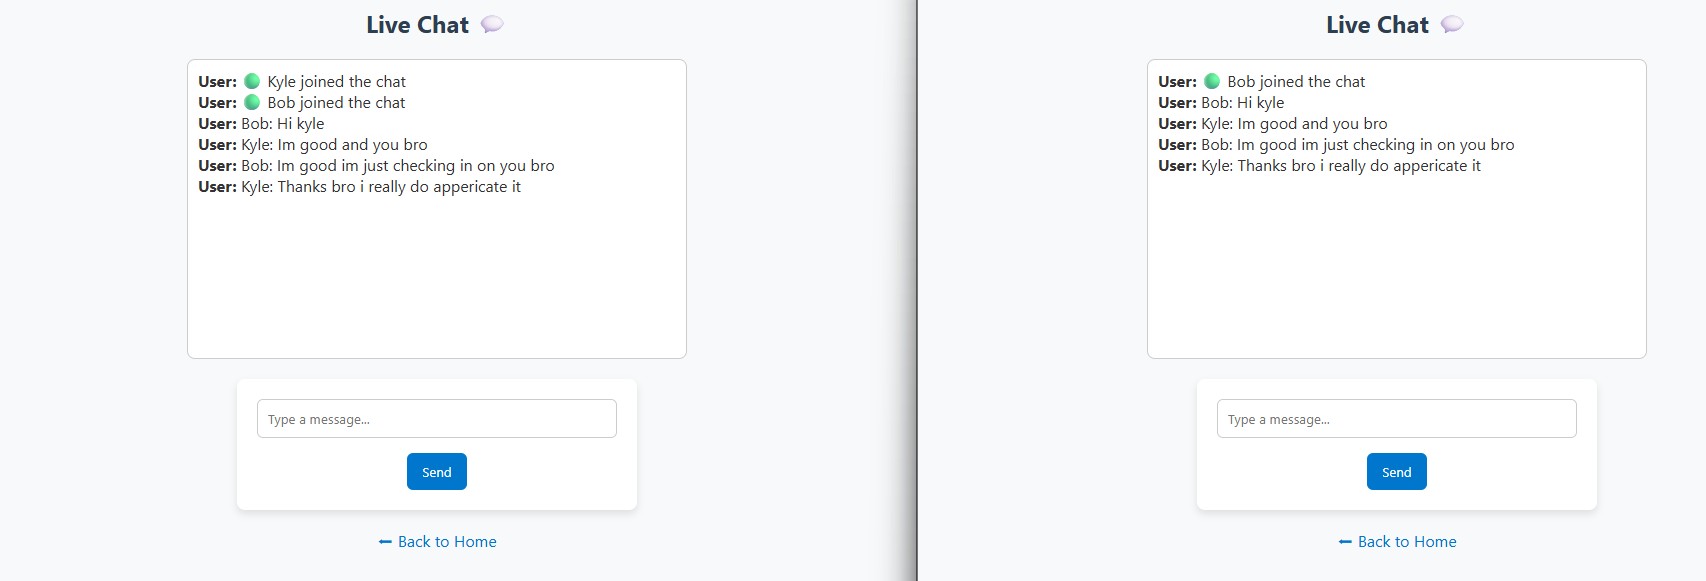
🔴 Live Chat Implementation
Real-time messaging functionality powered by JavaScript with form submission handling.
Features:
- Instant message sending
- Form validation
- Chat history maintenance
- Responsive design
- Backend integration ready
JavaScript Implementation:
// Chat functionality for UniConnect
document.addEventListener('DOMContentLoaded', function() {
const chatForm = document.getElementById('chat-form');
const messageInput = document.getElementById('messageInput');
const chatBox = document.getElementById('chat-box');
chatForm.addEventListener('submit', function(e) {
e.preventDefault();
const message = messageInput.value.trim();
if (message) {
// Add message to chat box
const messageElement = document.createElement('div');
messageElement.textContent = message;
messageElement.style.padding = '8px';
messageElement.style.margin = '5px 0';
messageElement.style.background = '#e3f2fd';
messageElement.style.borderRadius = '10px';
chatBox.appendChild(messageElement);
messageInput.value = '';
chatBox.scrollTop = chatBox.scrollHeight;
// Here you would typically send the message to the server
console.log('Message sent:', message);
}
});
});
⚙️ Installation & Setup
Follow these steps to set up UniConnect on your local development environment.
Prerequisites:
- Java JDK 8 or higher
- Apache Tomcat 9.x
- Modern web browser with camera access
- IDE (Eclipse, IntelliJ, or VS Code)
Setup Steps:
# 1. Clone or download the project
git clone https://github.com/yourusername/uniconnect.git
# 2. Import into your IDE as a Dynamic Web Project
# 3. Configure Tomcat server in your IDE
# 4. Deploy the application to Tomcat
# 5. Start the Tomcat server
# 6. Access the application at:
http://localhost:8080/uniconnect/home
📚 Usage Guide
Learn how to effectively use all features of UniConnect.
Getting Started:
After installation, open your browser and navigate to the home page to access all features.
Basic Operations:
- Access Camera: Navigate to camera section and allow camera permissions
- Start Chat: Go to conversations and begin messaging
- Navigation: Use the back to home links for easy navigation
- Photo Capture: Click capture button to take photos
- Real-time Chat: Type messages and press send for instant communication